
Organizer
Create a contact in the address book
Save a contact so you can find their details in the address book and use them in emails.
Requirement: After signing in, go to Organizer → Address book.
Step by step
-
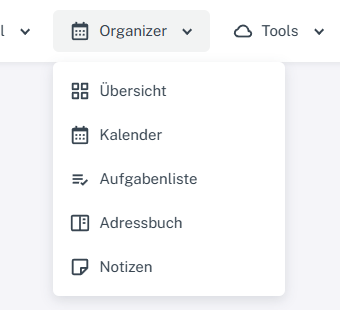
Click “Organizer” at the top and select Calendar, Task list, Address book, or Notes. Click “Organizer” in the header and select “Address book”. Click “Add” at the top right of the address book view.
-
Enter the first and last name. Add an email address, mobile number, telephone number, and company or organization if needed.
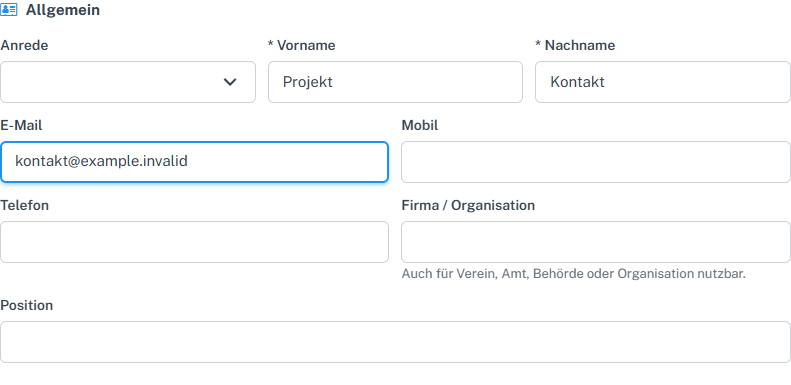
First and last names are required; other contact details are optional. -
Only add further personal or business details if you need them for your own contact management.
-
Select “OK”. Then enter the name in the address book search field and check the result.
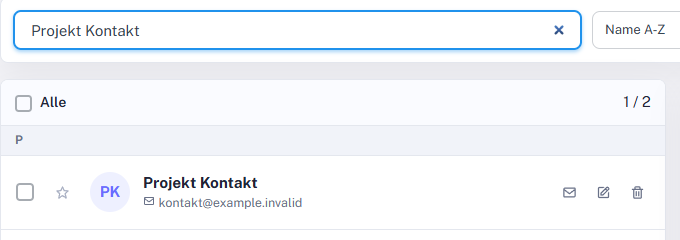
Use search to find the saved contact again.
What you will see afterwards
The saved contact appears in the filtered address book list with their name and email address.
Common problems
- Correct invalid email addresses before saving.
- A contact without an email address can still be useful for managing addresses, but cannot be used directly as an email recipient.
- If the contact does not appear, check the search text and any active group or favorites filters.