
More tools
Create a chat group
Set a group name, alias, and contacts for a new chat group.
Requirement: A signed-in account with chat enabled and at least one selectable contact; the alias must be available.
Step by step
-
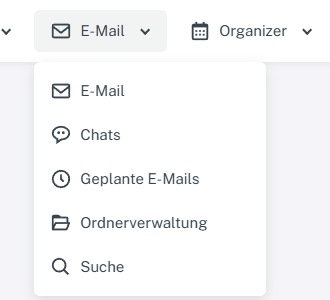
Click “Email” at the top; open “Chats” or “Folder management” in the menu. Click “Email” → “Chats” at the top. In the chat overview, select the plus sign beside search, then the “Create group” tab.
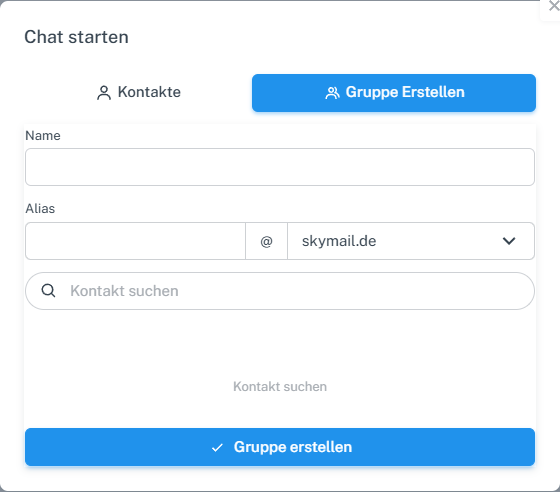
Set the name, alias, domain, and contacts for the new chat group. -
Enter a group name and an alias that is still available. Select the offered domain.
-
Find the address book contacts you want and add them to the selection.
-
Check the name, alias, and members; select “Create group”. Then check the group in the chat overview.
What you will see afterwards
The new group appears in the chat overview and can be edited there. Before sending messages later, check that all intended members are selected.
Common problems
- If “The captcha code is incorrect” appears even though no security code was requested, reload the chat page and try creating the group again. If the error persists, contact support.
- If sending from a group containing only your own contact fails, add other valid contacts and check the member selection.