
More tools
Delete a chat group
Remove a group you manage after a confirmation prompt.
Requirement: A signed-in account with a chat group you manage.
Step by step
-
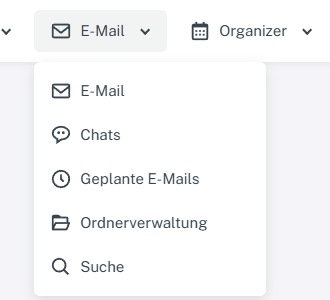
Click “Email” at the top; open “Chats” or “Folder management” in the menu. Click “Email” → “Chats” at the top and select the group you want to remove on the left.
-
Select the red trash icon in the group header. Check the group's name and alias first.

Check the name and alias in the group header and click the red trash icon only for the correct group. -
Confirm the prompt only if you really want to remove this group.
-
Then check the chat list. The deleted group should no longer appear there.
What you will see afterwards
After the confirmed deletion, the group is no longer displayed in your chat list. Its effects on other members cannot be determined from your view alone.
Common problems
- Deletion can affect the message history; back up any content you need beforehand.
- There is a separate process for removing an individual contact chat.