
Organizer
Create a note
Record a note with text and a priority in the Organizer and find it again later.
Requirement: You must be signed in; notes belong to your own account.
Step by step
-
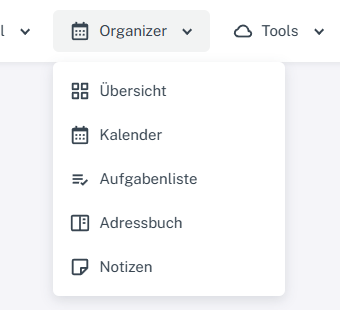
Click “Organizer” at the top and select Calendar, Task list, Address book, or Notes. Click “Organizer” in the header and select “Notes” from the menu. Click “Add note” at the bottom of the notes list.
-
In the form, select the priority “High”, “Normal”, or “Low”.
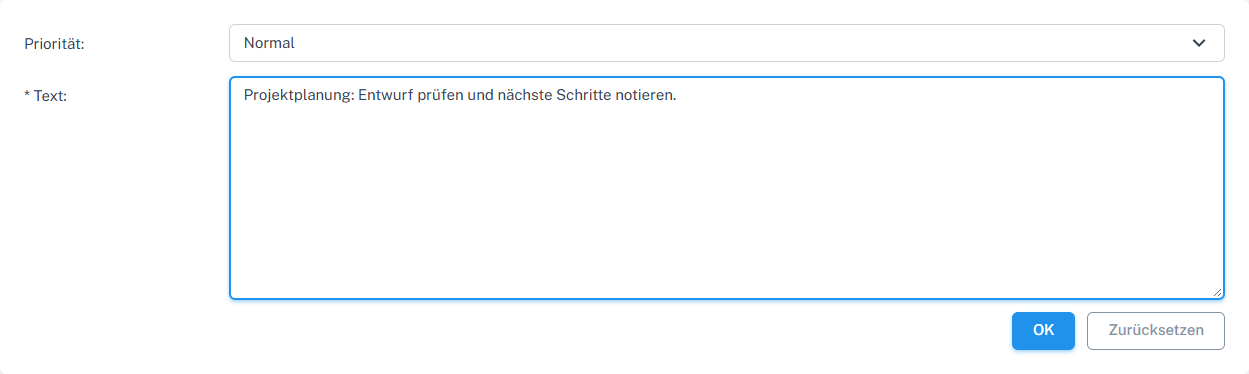
Enter a priority and text for a new note. -
Enter the note text in the text field marked as required.
-
Confirm with “OK” and check the new row showing the priority, date, and text in the notes list.

After saving, the note appears in the list.
What you will see afterwards
The note appears in your list with its date, text, and priority. You can use the available sorting options to find it again.
Common problems
- An empty text field does not satisfy the required field.
- If you cannot see the note immediately, check the current sorting by date, text, or priority.