
Security and encryption
Select a security email for a new passkey
Configure the selectable notification after a passkey is registered.
Requirement: After signing in, go to Settings → Security center.
Step by step
-
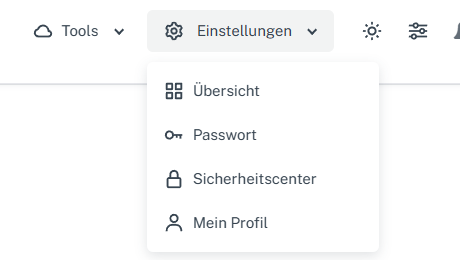
Click “Settings” at the top and select “Security center” in the menu. Click “Settings” in the webmail header, then “Security center” in the menu. On a narrow screen, first open “Menu”, then “Settings” → “Security center”. Open “Select notifications” in the “Security” card.
-
Set “Passkey created”. Also enable “Send listed security emails” if this selectable notification should be sent.
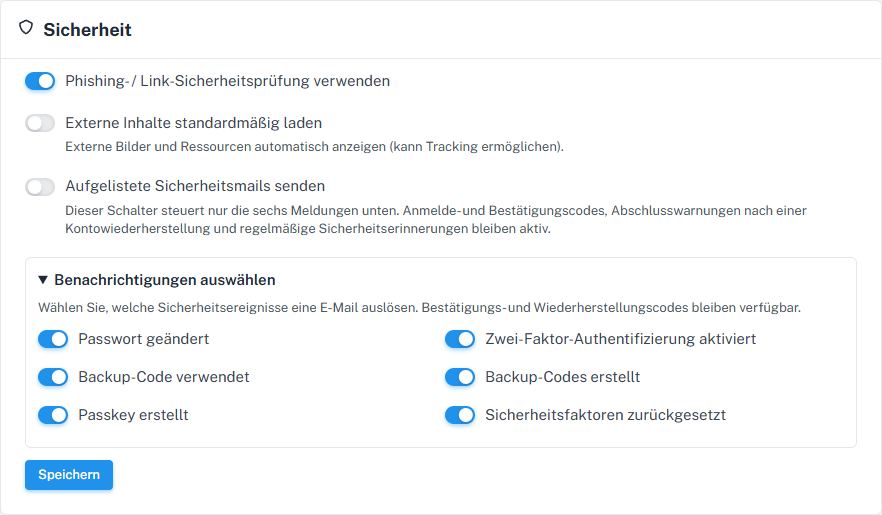
Registering a passkey is a separate event. -
Check the other switches, select “Save”, and check the selection after reloading.
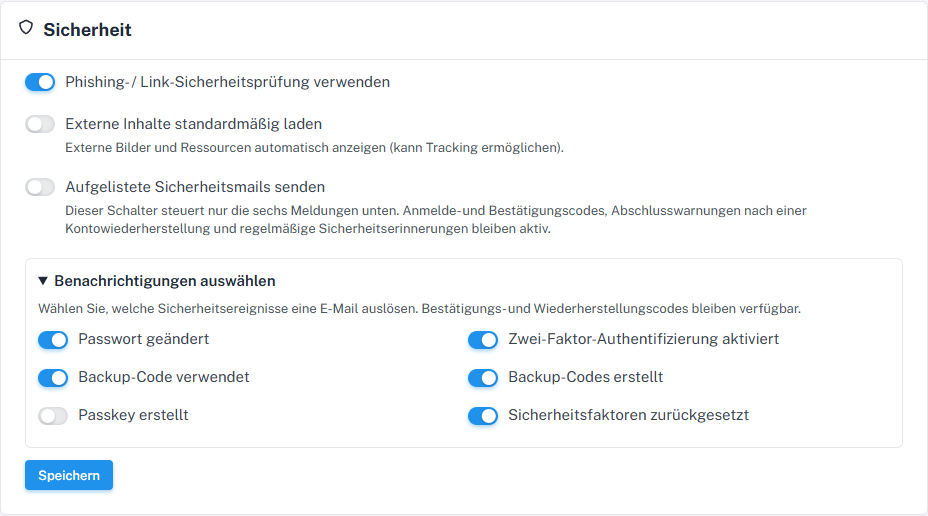
Choose the notification after creating a passkey here.
What you will see afterwards
After saving, your choice for “Passkey created” remains visible when reopened. The main switch must also be active for a selectable email. The notification choice itself does not create a passkey or confirm email delivery.
Common problems
- A canceled browser dialog does not create a new passkey.
- If you receive an unexpected notification, check “Saved passkeys” and remove unfamiliar entries only after securing another access method.
Go to the relevant section of the “Getting started with Skymail” guide