
Webdisk and files
Upload a file to Webdisk
Transfer local files to a Webdisk folder.
Requirement: After signing in with Webdisk access and enough free storage space; upload limits depend on your account.
Step by step
-
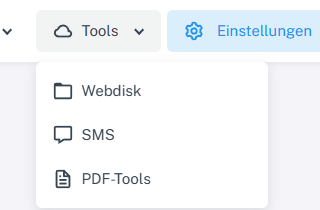
Click “Tools” at the top and choose “Webdisk” from the menu. Click “Tools” → “Webdisk” at the top and select the destination folder in the folder tree on the left.
-
In the “Upload files” section, enter the number of file fields and select “OK”.
-
Select the local files in the file fields that appear, then confirm the upload with “OK”.
-
Look for “Successful” in the upload results, then check the destination folder’s file list.
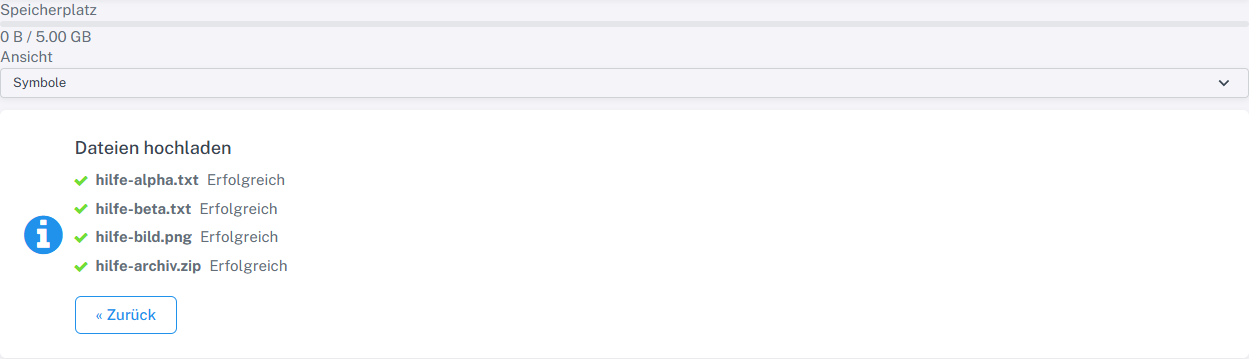
After uploading, Webdisk shows “Successful” for the four files.
What you will see afterwards
Once the upload succeeds, the file appears in the selected Webdisk folder.
Common problems
- If you exceed the storage or server limit, the upload reports an error. Choose a smaller file or free up storage space.
- If an upload is interrupted, check the file list before trying again to avoid creating a duplicate.