
Security and encryption
Attach your own public OpenPGP key to an email
Include your public key for recipients when sending with OpenPGP.
Requirement: After signing in, if group policy allows attaching public keys and you have an active key of your own
Step by step
-
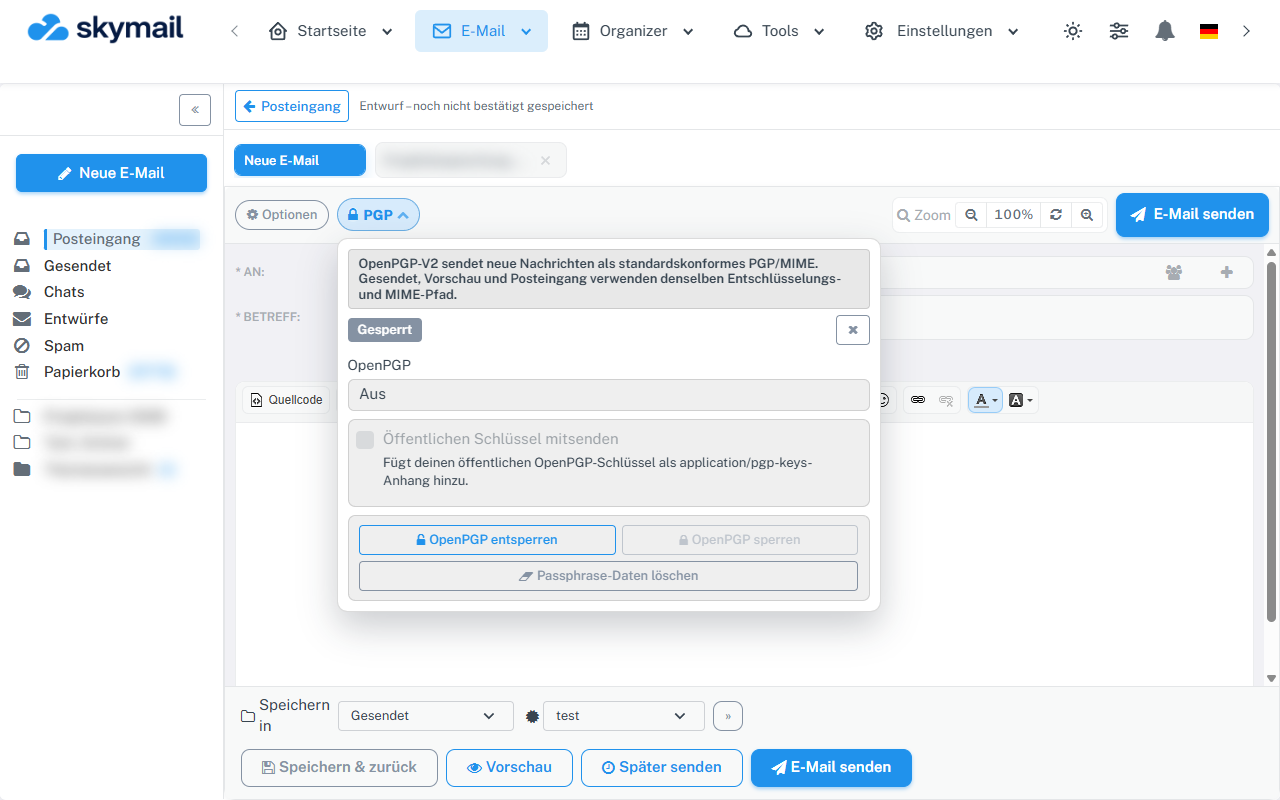
Use Email and New email to reach the PGP menu in the compose window. Click “Email” at the top, “New email” on the left, then “PGP” above the recipient fields. Select a sending mode other than “Off”.
-
Enable “Include public key” if your group policy offers this option. For signed messages, your personal default may already enable it.

Send your own public key as an attachment. -
In “My key”, check that the fingerprint of your active key is correct. Send the email.
-
Tell the recipient to check the fingerprint independently before trusting your key.
What you will see afterwards
Open the message in “Sent” and check that your public key is present as an .asc attachment. The attachment in this stored copy does not yet prove delivery to the recipient. Share the fingerprint through an independent channel.
Common problems
- This OpenPGP option has no effect in “Off” mode or without an active key of your own.
- Group policy may prohibit attaching keys.
- An included public key does not replace checking its fingerprint.
Go to the relevant section of the “Getting started with Skymail” guide